How to Get Rid of Fungus Gnats
Control fungus gnats by identifying active pots, drying the top layer where appropriate, trapping adults, treating larvae, and preventing damp soil cycles.
Quick answer
To get rid of fungus gnats, manage the damp soil conditions where larvae live while trapping adults. Dry the top layer when the plant allows it, clean debris, and use targeted larvae control if needed.
The safest way to use any plant-care guide is to start with the plant in front of you: its species, pot size, soil moisture, light level, drainage, root condition, pest pressure, season, and recent changes. Those details decide whether a symptom points to a simple routine adjustment or a deeper root, light, or pest problem.
Why fungus gnats keep coming back
Fungus gnats breed in damp organic potting mix. The flying adults are annoying, but the larvae in the soil are the reason the problem continues. If you only swat adults or spray the air, the next generation can emerge from the same wet pots. Control works best when you combine adult monitoring with changes that make the soil less friendly to larvae.
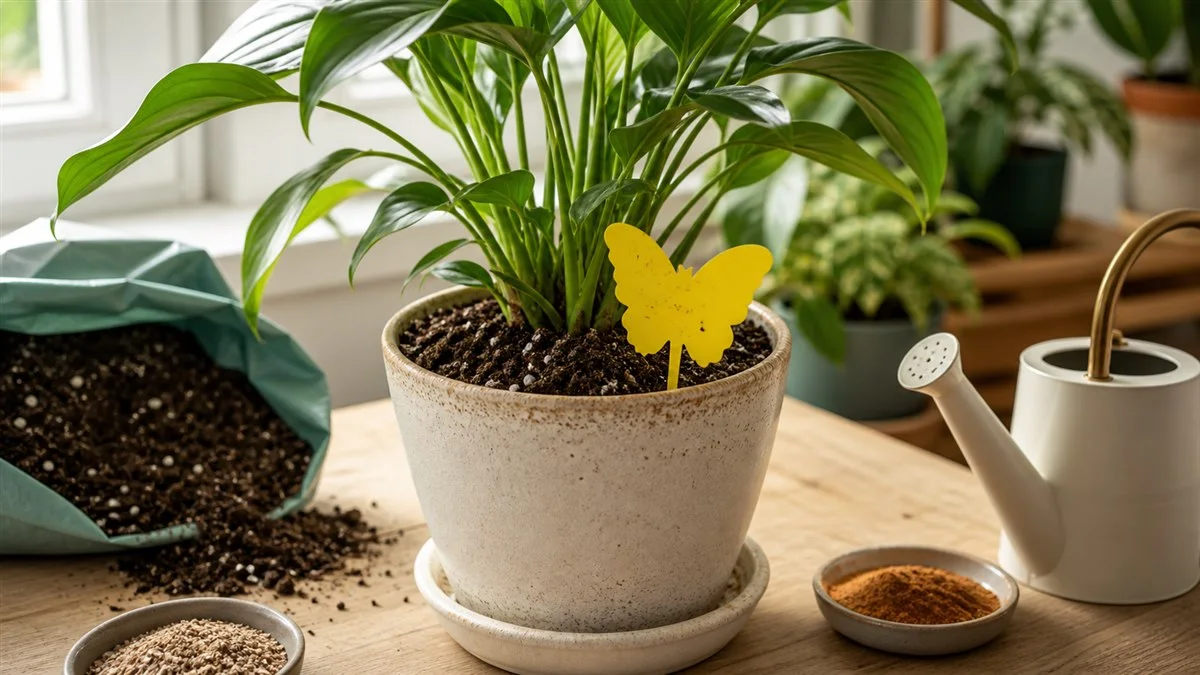
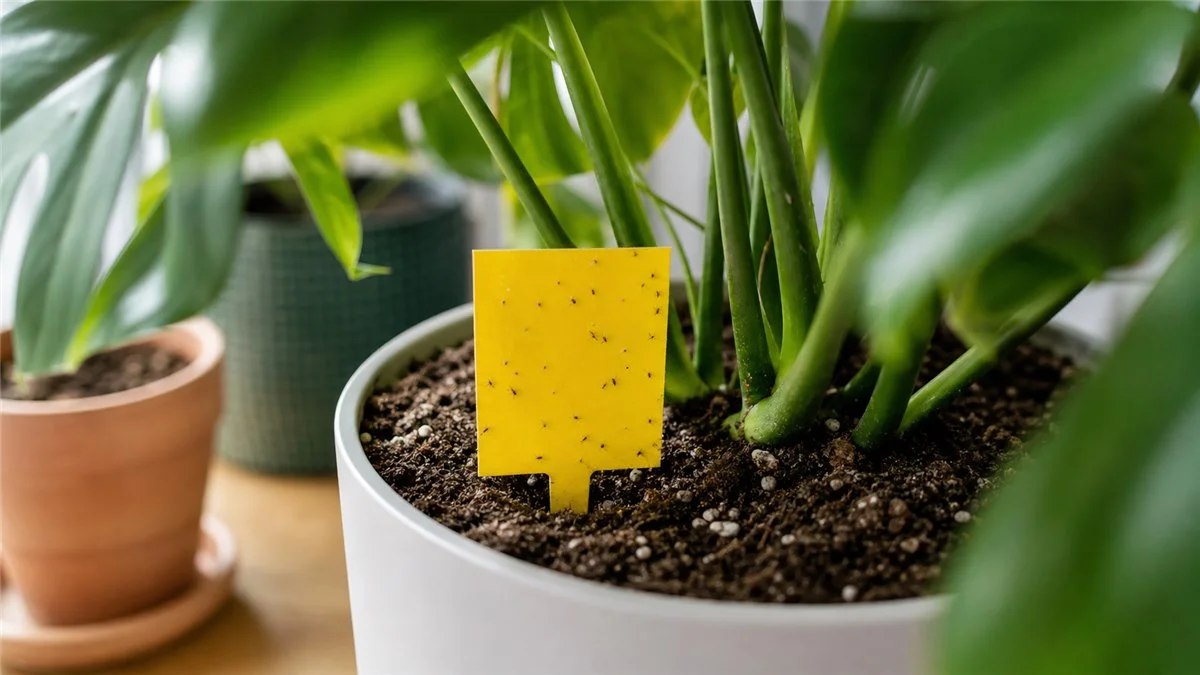
Start by identifying which pots stay damp longest. Fungus gnats often cluster around plants that receive frequent small waterings, sit in dense soil, or have decomposing leaves on the surface. Yellow sticky cards help show where adults are active, but they are a monitoring tool, not the whole solution.
Breaking the gnat cycle
Let the top layer dry more between waterings where the plant can tolerate it. Remove fallen leaves and organic debris from the soil surface. Improve airflow and light if the pot is drying too slowly. For persistent infestations, use a targeted larvae control that is labeled for the purpose and safe for your household situation.
Avoid overcorrecting by drying moisture-loving plants to the point of damage. The goal is not neglect; it is better moisture management. Some plants need evenly moist roots, but even those should not sit in stagnant, sour, poorly aerated mix.
What to check first
- Soil moisture below the surface, especially near the root zone.
- Light intensity, window direction, and whether the plant receives direct sun or only reflected daylight.
- Drainage holes, pot size, saucers, cover pots, and soil texture.
- Recent moves, repotting, fertilizer, pruning, heat, drafts, or watering changes.
- Leaf undersides, stems, soil surface, and drainage holes for pests or root stress.
How to decide what to change
Choose the most likely issue and adjust that first. If soil is staying wet, improve drying time before adding fertilizer. If growth is stretched, improve light before pruning heavily. If pests are visible, isolate the plant and identify the pest before treating the whole collection.
What recovery looks like
Old damaged leaves rarely become perfect again. Judge recovery by new growth, firmer stems, healthier roots, steadier drying time, and whether the plant stops declining. Many indoor plants need several weeks to show a clear response after a care correction.
Common mistakes to avoid
- Repotting, fertilizing, moving, pruning, and treating pests all in the same week.
- Watering because a reminder fired instead of because the soil and plant indicate it is time.
- Assuming every yellow leaf, brown tip, or drooping stem has the same cause across all species.
- Using fertilizer or pest products without reading the label, testing carefully, and considering pets, children, and ventilation.
Safety and household notes
Verify plant identity before relying on toxicity guidance, because common names can overlap. Many common houseplants can irritate pets or children if chewed, and some pest treatments or soil amendments need gloves, ventilation, or careful storage. If exposure is urgent, contact a veterinarian, poison control service, or local professional.
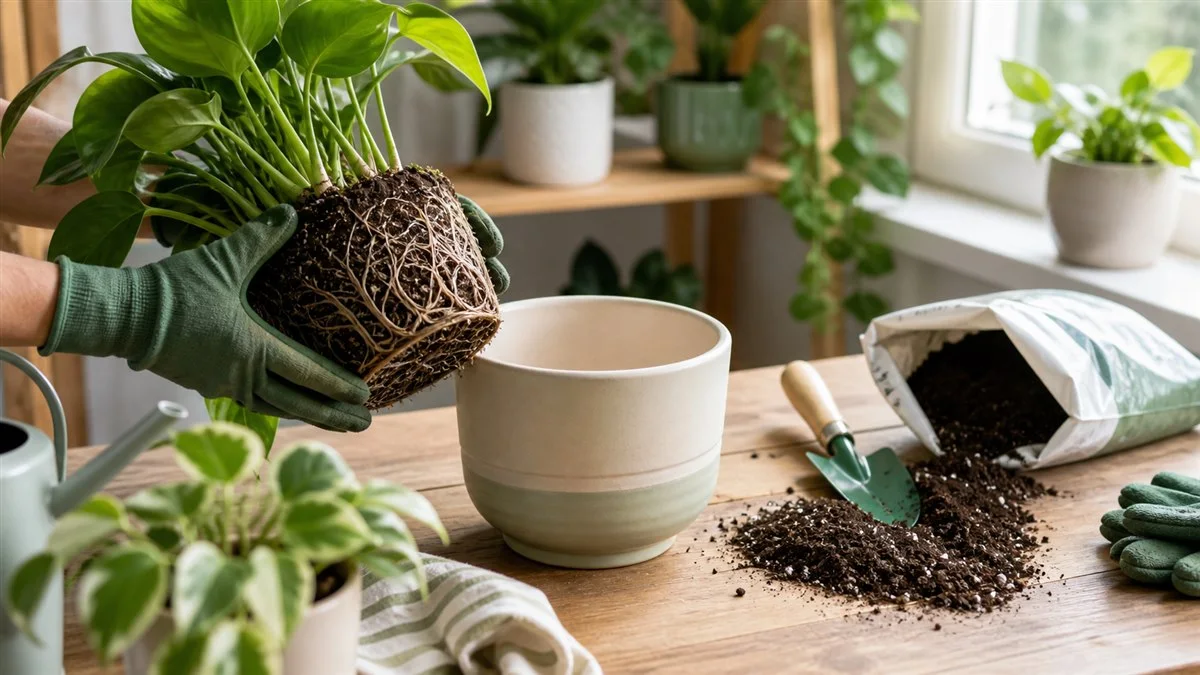
Find the pots that are breeding gnats
Fungus gnats usually come from a moisture pattern, not from the air around the plant. Put yellow sticky cards near several suspect pots and watch where adults collect. Then check those pots for wet topsoil, algae, fallen leaves, dense organic mix, and slow drying. The plant with the most adults is not always the only source, but it tells you where to start.
Control works in layers. Sticky traps reduce adults and show whether the population is falling. Better watering and surface cleanup make the pot less friendly to larvae. A targeted larvae treatment may help when drying alone is not appropriate or the infestation is established. Avoid spraying only the flying adults and calling the problem solved.
Prevent the next outbreak
- Remove fallen leaves and dead material from the soil surface.
- Let the top layer dry more where the plant can tolerate it.
- Improve light, airflow, and soil structure for pots that stay wet too long.
- Quarantine new plants or fresh soil that arrives with active gnats.
Diagnose before treating
Plant problems overlap. Yellow leaves, drooping, brown tips, and leaf drop can come from water, light, roots, pests, fertilizer, temperature, or a recent move. A good diagnosis starts with what changed, which leaves are affected, whether soil is wet or dry, and whether roots or pests are visible. Treatments work better when they match the confirmed cause.
When you are unsure, choose the least disruptive correction first. Improve drying time, stabilize light, isolate a pest suspect, or remove damaged leaves before repotting, fertilizing, pruning, and spraying all in the same week.
Plant care works best when you change one variable at a time. Check soil moisture, light, roots, pests, and recent care changes before buying products or repotting in a hurry.