When to Repot a Houseplant
Use root health, soil condition, pot size, drainage, and timing to decide when a houseplant needs repotting and when it needs stability instead.
Quick answer
Repot when the roots, soil, or drainage need it, not simply because a plant looks stressed. Inspect the root ball, choose only a modestly larger pot, and avoid disturbing a plant that mainly needs better light or watering.
The safest way to use any plant-care guide is to start with the plant in front of you: its species, pot size, soil moisture, light level, drainage, root condition, pest pressure, season, and recent changes. Those details decide whether a symptom points to a simple routine adjustment or a deeper root, light, or pest problem.
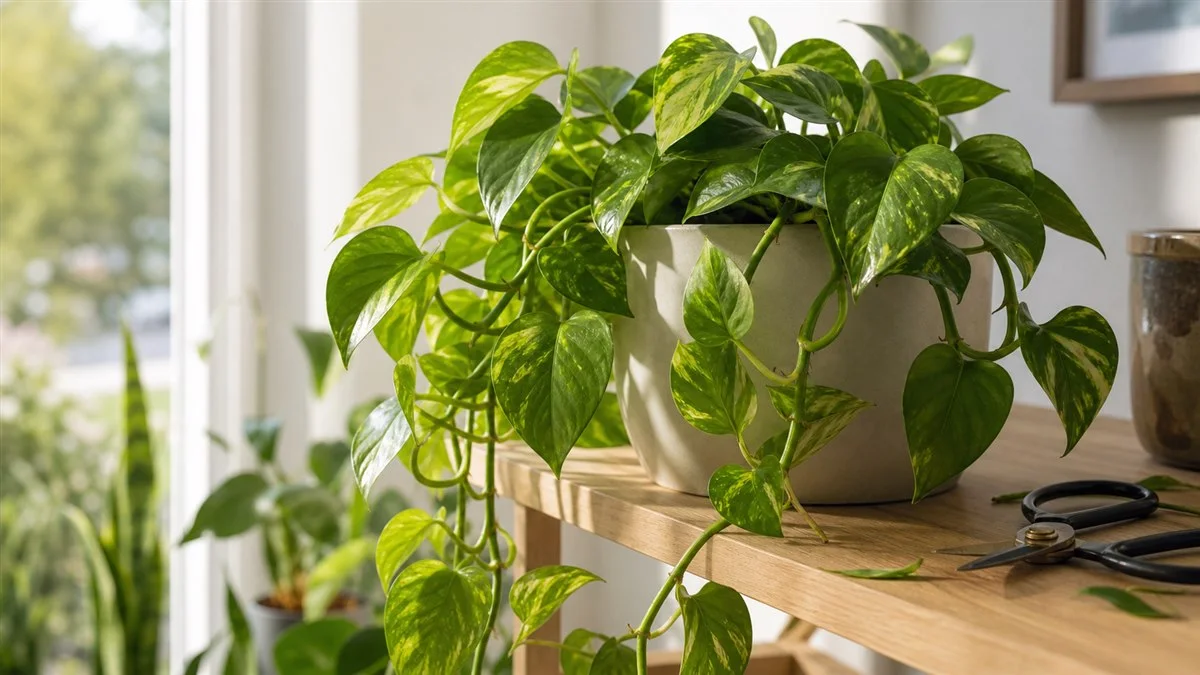
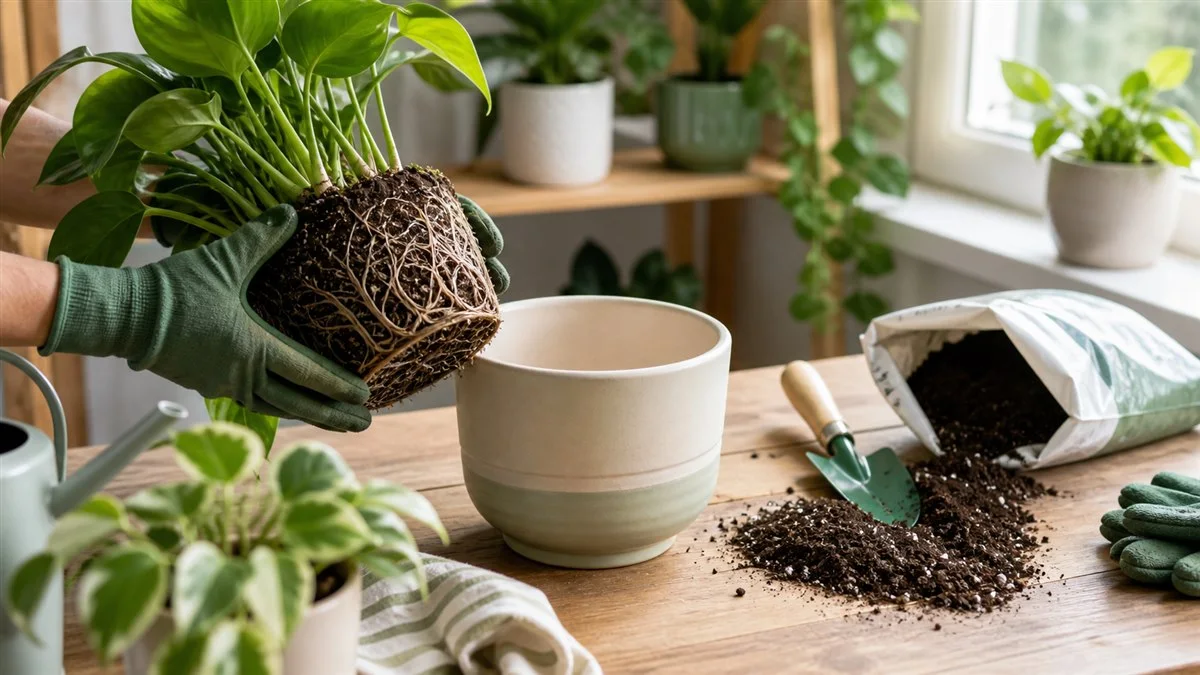
Repot because the roots need it
Repotting is useful when the plant has outgrown its container, the soil structure has collapsed, roots are circling tightly, drainage is poor, or root health needs inspection. It is not always the best first response to a struggling plant. A plant with pests, rot, drought stress, or low light may decline further if it is disturbed without a clear reason.
Slip the plant from the pot when possible and inspect the root ball. Healthy roots are usually firm and light-colored, though color varies by species and mix. Mushy, black, hollow, or foul-smelling roots point to rot. Sparse roots in a large wet pot mean the plant may need a smaller or better-aerated setup, not a bigger container.
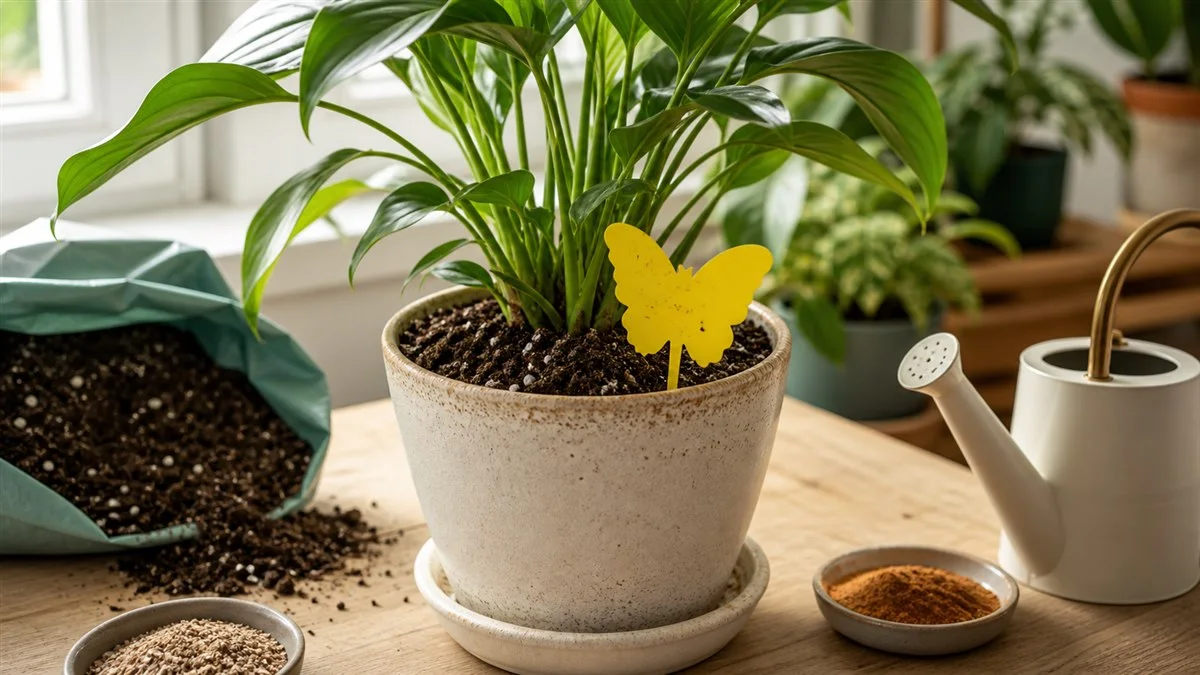
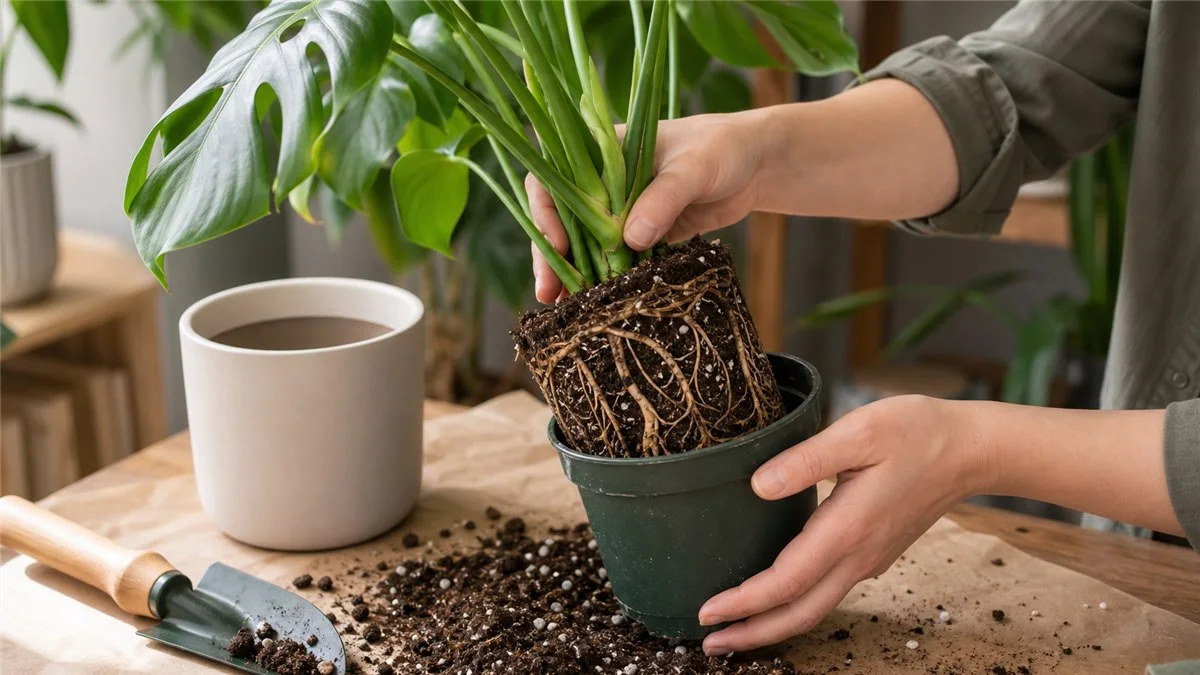
Choosing the next pot and mix
Most houseplants only need one pot size up. A much larger pot can hold excess water around roots and make watering harder. Choose a mix that fits the plant: chunky and airy for many aroids, fast-draining for succulents, moisture-retentive but not soggy for ferns and some tropical plants, and specialized bark-based media for many orchids.
After repotting, keep conditions stable. Bright indirect light, careful watering, and a short pause on fertilizer help roots reestablish. Some drooping or leaf loss can happen after root disturbance, but continuing decline means you should recheck moisture, root condition, and light.
What to check first
- Soil moisture below the surface, especially near the root zone.
- Light intensity, window direction, and whether the plant receives direct sun or only reflected daylight.
- Drainage holes, pot size, saucers, cover pots, and soil texture.
- Recent moves, repotting, fertilizer, pruning, heat, drafts, or watering changes.
- Leaf undersides, stems, soil surface, and drainage holes for pests or root stress.
How to decide what to change
Choose the most likely issue and adjust that first. If soil is staying wet, improve drying time before adding fertilizer. If growth is stretched, improve light before pruning heavily. If pests are visible, isolate the plant and identify the pest before treating the whole collection.
What recovery looks like
Old damaged leaves rarely become perfect again. Judge recovery by new growth, firmer stems, healthier roots, steadier drying time, and whether the plant stops declining. Many indoor plants need several weeks to show a clear response after a care correction.
Common mistakes to avoid
- Repotting, fertilizing, moving, pruning, and treating pests all in the same week.
- Watering because a reminder fired instead of because the soil and plant indicate it is time.
- Assuming every yellow leaf, brown tip, or drooping stem has the same cause across all species.
- Using fertilizer or pest products without reading the label, testing carefully, and considering pets, children, and ventilation.
Safety and household notes
Verify plant identity before relying on toxicity guidance, because common names can overlap. Many common houseplants can irritate pets or children if chewed, and some pest treatments or soil amendments need gloves, ventilation, or careful storage. If exposure is urgent, contact a veterinarian, poison control service, or local professional.
Separate root-bound from root-stressed
A root-bound plant and a root-stressed plant can both look tired, but they need different help. A root-bound plant often dries very fast, has roots circling the container, may push roots from drainage holes, and may perk up only briefly after watering. A root-stressed plant may sit wet for too long, have mushy or hollow roots, smell sour, or show yellowing and drooping while the pot is still heavy.
Before sizing up, slip the plant from its pot if you can do so safely. If the root ball is firm and full of healthy roots, one modest pot size up is usually enough. If roots are sparse inside a large wet mass of soil, a bigger pot will make the problem worse. In that case, improve aeration, remove damaged roots if needed, and choose a container that matches the actual root system.
Repotting aftercare
- Keep the plant in stable bright indirect light while roots settle.
- Water carefully because fresh mix may hold moisture differently from the old mix.
- Pause fertilizer until the plant resumes active growth.
- Judge recovery by new growth and steadier drying time, not by old damaged leaves.
Soil structure matters more than a perfect recipe
A useful potting mix balances air and moisture for the plant in front of you. Chunky bark, perlite, pumice, coco chips, or coarse materials can improve air around roots. Fine peat-heavy mixes can hold water for a long time, especially in large plastic pots or lower light. The best recipe depends on the plant, pot size, room conditions, and how often you realistically check moisture.
If a plant repeatedly struggles after watering, inspect the mix itself. Soil that collapses, smells sour, dries into a hard block, or stays wet for many days is part of the care problem.
Plant care works best when you change one variable at a time. Check soil moisture, light, roots, pests, and recent care changes before buying products or repotting in a hurry.