Yellow Leaves on Plants: Causes, Diagnosis & Fixes
Diagnose yellow leaves by their pattern, soil moisture, light, roots, pests, and recent changes, then choose the safest fix without overcorrecting.
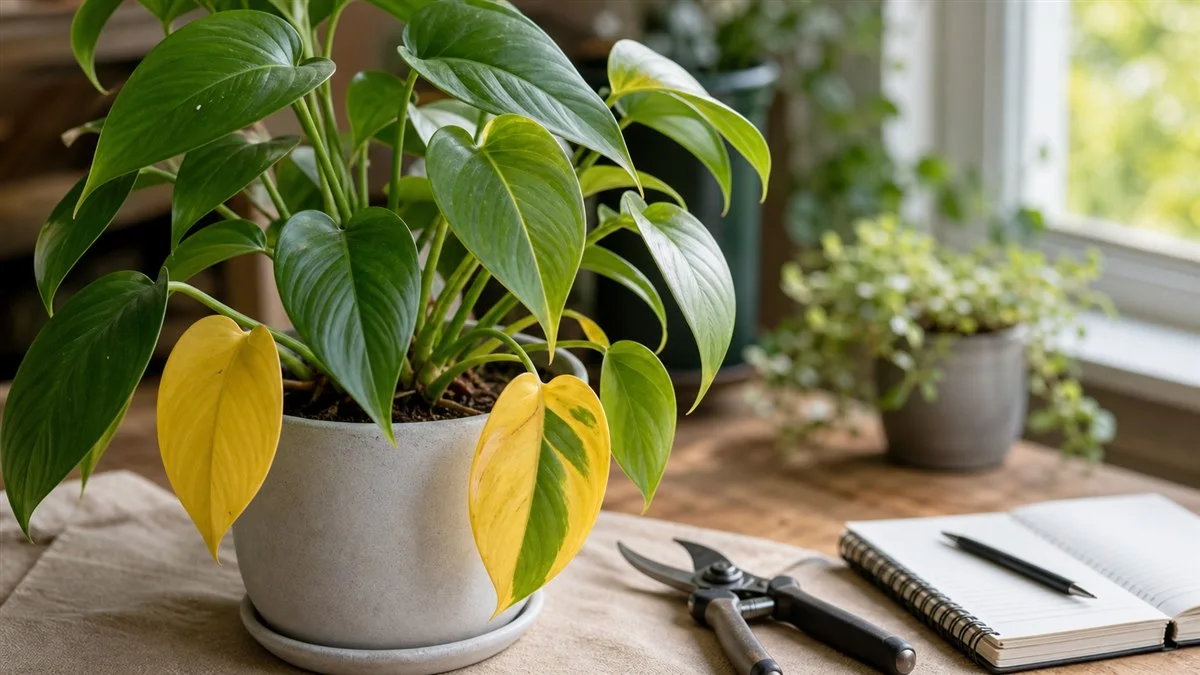
Quick Answer: Why Are My Plant Leaves Turning Yellow?
Yellow leaves on houseplants can be caused by a variety of factors including overwatering, underwatering, nutrient deficiencies, pest infestations, low light conditions, and natural aging. Diagnosing the specific cause requires careful observation of the plant's environment and symptoms.
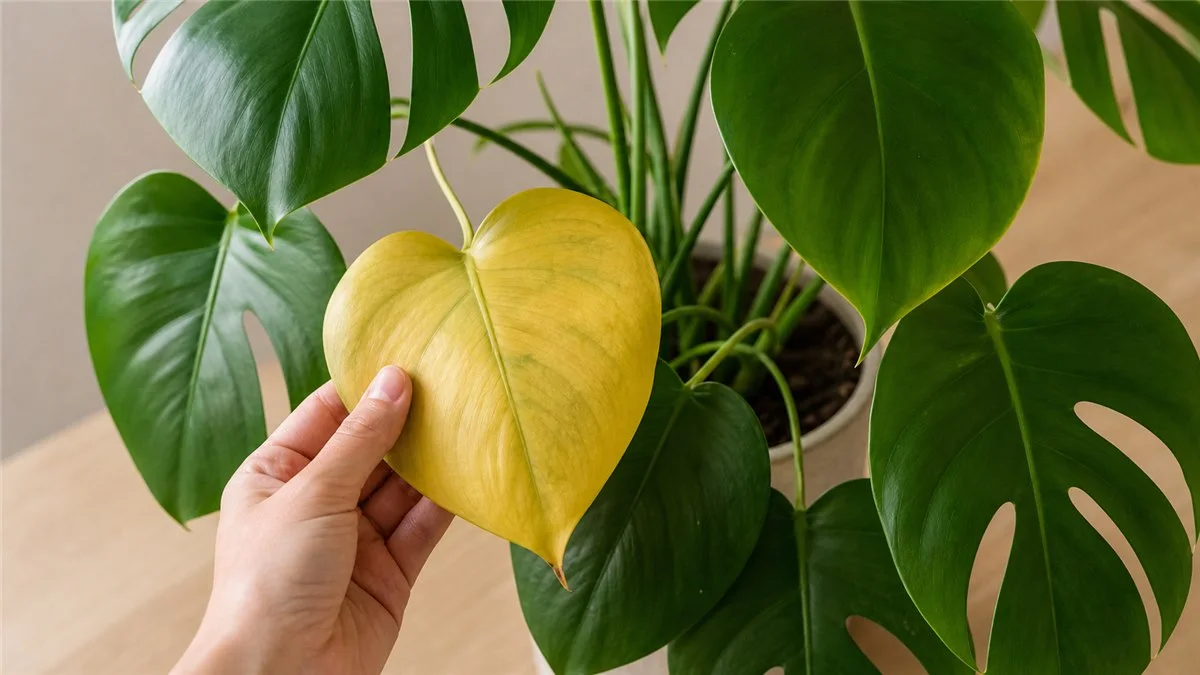
Why Yellow Leaves Matter
Yellow leaves can signal distress in your plant and, if left unaddressed, may lead to further health issues or even plant death. Understanding the cause of yellowing can help you take corrective action, ensuring your plant remains vibrant and healthy.
Diagnosis Checklist
- Old vs. New Leaves: Determine if yellowing affects older leaves or new growth.
- Location on Plant: Check if yellowing is on lower or upper growth.
- Extent of Yellowing: Is it one leaf or widespread?
- Accompanying Signs: Look for wet soil, drooping, brown spots, soft stems, pests, or stalled growth.
Common Causes of Yellow Leaves
1. Overwatering vs. Underwatering
Overwatering: Often results in yellow, drooping leaves. Soil may feel consistently wet, and roots can rot due to lack of oxygen. Check the root zone for sogginess and smell for any musty odor.
Underwatering: Leads to dry, crispy yellow leaves. Soil will be dry to the touch, and the plant may appear wilted. Increase watering gradually.
2. Low Light Conditions
Plants require adequate light for photosynthesis. Insufficient light can cause leaves to turn yellow as the plant struggles to produce energy. Consider the direction of your windows; south-facing windows provide the most light.
3. Nutrient Deficiencies
Yellow leaves can result from a lack of essential nutrients like nitrogen, iron, or magnesium. Check for patterns such as yellowing between veins (iron deficiency) or overall pale leaves (nitrogen deficiency).
4. Pests and Diseases
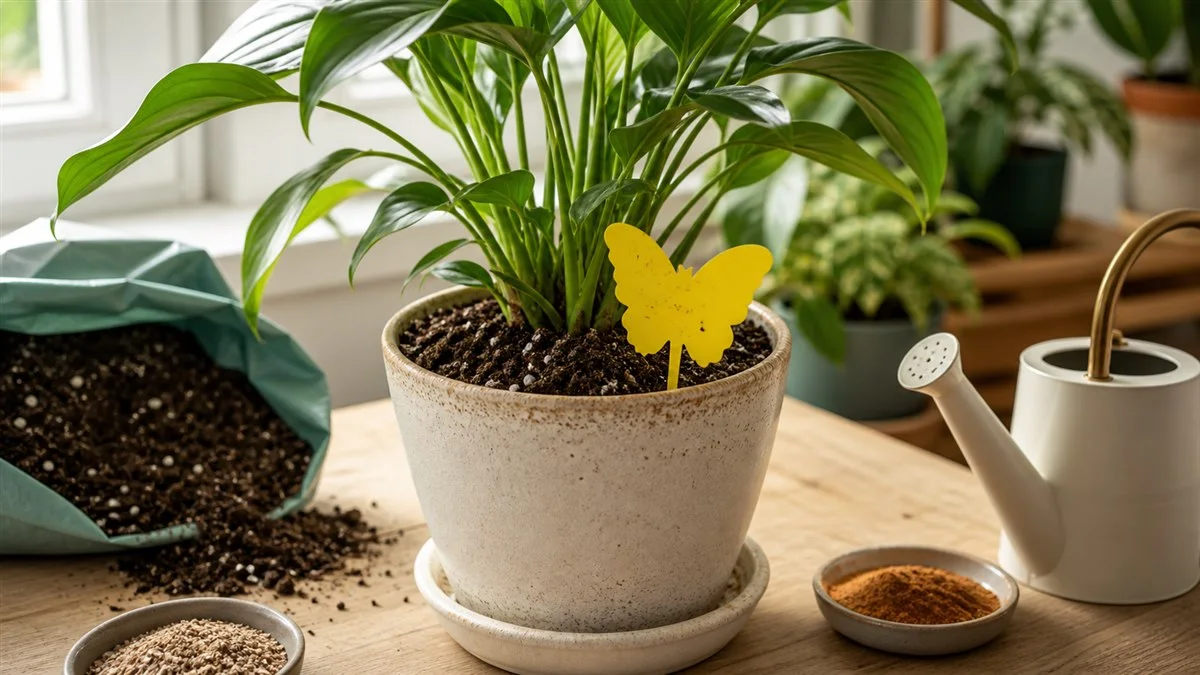
Inspect your plant for signs of pests such as spider mites or aphids. These can cause yellowing by sucking sap from the leaves. Diseases like root rot or fungal infections may also cause discoloration.
5. Natural Aging
Some plants naturally shed older leaves as they grow. This is normal and not a cause for concern unless it becomes excessive.
Step-by-Step Care Routine
Follow these steps to address yellowing leaves:
- Inspect the Soil: Check moisture levels and adjust watering frequency.
- Check Light Levels: Move the plant to a location with appropriate light.
- Inspect for Pests: Look under leaves and in the soil for any signs of pests.
- Consider Nutrient Supplements: If nutrient deficiency is suspected, consider adding a balanced fertilizer.
Seasonal Adjustments
During winter, plants may require less water due to slower growth and reduced light. Adjust your care routine accordingly and ensure your plants are not exposed to cold drafts.
Common Mistakes to Avoid
- Avoid over-fertilizing, which can cause nutrient burn and further yellowing.
- Don't repot unnecessarily, as it can stress the plant further.
Troubleshooting Guidance
If yellowing persists despite adjustments, consider consulting the Plant Care plant directory for specific plant needs or a local plant expert.
Prevention Tips
- Ensure proper drainage and avoid waterlogged soil.
- Rotate plants regularly for even light exposure.
- Maintain consistent humidity levels, especially for tropical plants.
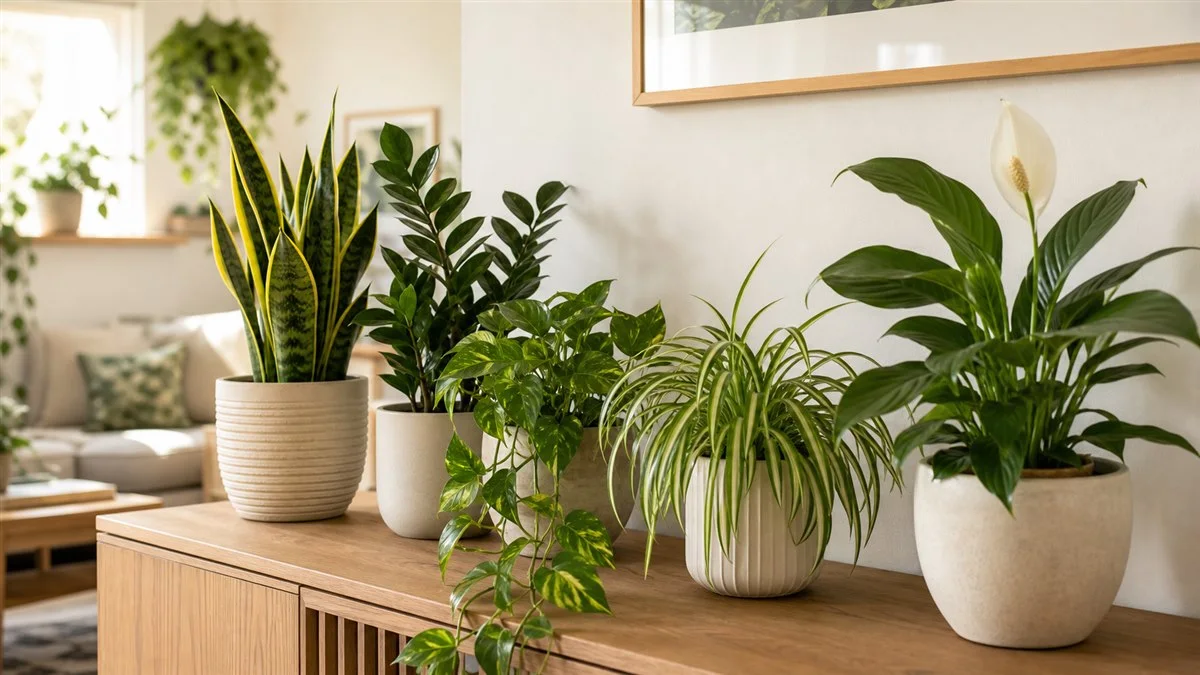
Examples for Common Houseplants
Monstera: Prefers bright, indirect light and likes its soil to dry out between waterings.
Peace Lily: Thrives in lower light but needs consistently moist soil.
Snake Plant: Tolerates low light and infrequent watering.
What Recovery Looks Like
Recovering plants will show signs of new growth, and existing leaves may regain their healthy color. Be patient, as recovery can take several weeks.
Safety Notes
Ensure that any treatments or fertilizers used are safe for pets and children. Always follow product instructions carefully.
For more plant care tips, explore our plant problem guides and watering guides on Plant Care.
Quick diagnosis before you change care
Plant symptoms overlap. Yellow leaves, drooping, brown edges, and leaf drop can come from water, light, roots, pests, temperature, or several recent changes at once.
- Check soil moisture below the dry-looking surface before watering or withholding water.
- Look at the newest growth separately from older damaged leaves, because old damage rarely repairs itself.
- Inspect leaf undersides, stems, soil surface, and drainage holes for pests, root stress, or sour-smelling soil.
- Ask what changed recently: a move, repotting, fertilizer, heat, drafts, brighter sun, lower winter light, or a new watering habit.
A simple care routine to try next
Choose the most likely issue and change only that variable first. If the soil is staying wet, improve drying time before adding fertilizer. If the plant is stretching, improve light before pruning heavily. If pests are visible, isolate the plant before treating the whole collection.
After a change, give the plant time to respond. For many houseplants, the clearest signal is not whether an old leaf improves, but whether new growth appears stronger, roots look healthier, and the plant stops declining.
Common mistakes to avoid
- Repotting, fertilizing, moving, pruning, and treating pests all in the same week.
- Watering because a reminder fired instead of because the soil and plant indicate it is time.
- Assuming every yellow leaf means the same thing across different species and seasons.
- Using pest or fertilizer products without reading the label, testing first, or considering pets and children.
Safety and household notes
Verify plant identity before relying on toxicity guidance. Many common houseplants can irritate pets or children if chewed, and some pest treatments or soil amendments need ventilation, gloves, or careful storage. If exposure is urgent, contact a veterinarian, poison control service, or local professional rather than waiting on a plant-care article.
Start with the yellowing pattern
Yellow is a symptom, not a diagnosis. Before changing care, note which leaves changed first and whether the yellowing is isolated or spreading. One old lower leaf fading slowly on a plant that is producing healthy new growth is often normal aging. Several lower leaves yellowing together can follow a watering problem, reduced light, or a seasonal slowdown. Pale or yellow new leaves deserve closer attention to root function, nutrient availability, pests, and active growth conditions.
Look for companion clues. Yellow leaves with a light, dry pot point in a different direction from yellow leaves with heavy wet soil. Soft stems, a sour smell, or black roots increase concern about root rot. Fine webbing, sticky residue, cottony clusters, silvery scarring, or distorted new growth point toward pests. Brown halos or expanding spots may indicate damaged tissue or a leaf-spot problem rather than watering alone.
Overwatering versus underwatering
Overwatering is not simply using a large amount of water once. It means the root zone stays wet and poorly aerated for longer than the plant can tolerate. The pot may feel heavy for many days, lower leaves may yellow, stems may soften, and the plant can droop even though the soil is damp because damaged roots cannot supply the leaves correctly. Low light, dense mix, an oversized pot, blocked drainage, or water trapped in a cover pot can create the same result as watering too frequently.
Underwatering is more likely when the root ball is dry, the pot feels unusually light, leaves are thin or limp, and dry edges appear with yellowing. Severely dry peat-based mix can pull away from the pot and repel water, allowing a quick pour to run down the sides without wetting the roots. Rehydrate a dry root ball evenly, let excess drain, and then observe how long the plant takes to use that water before deciding on the next interval.
Low light can keep roots too wet
A plant moved farther from a window may use water much more slowly even when the watering routine has not changed. Yellowing can therefore appear weeks after a seasonal light drop or room change. Check window direction, distance from the glass, curtains, nearby buildings, and whether new growth is becoming smaller or stretched. Improving light gradually can restore a healthier drying rhythm, but do not move a shade-adapted plant straight into harsh afternoon sun.
Old leaves versus yellow new growth
Plants regularly retire older leaves, especially after producing new growth, acclimating to a new room, or entering a slower season. Normal aging is usually limited and progressive: one older leaf fades while the rest of the plant remains firm and new growth looks healthy. Active decline is more likely when yellowing spreads quickly, affects several levels of the plant, reaches new leaves, or appears with stalled growth, pests, soft stems, or roots that remain wet.
New growth that emerges pale may reflect roots that cannot absorb nutrients, unsuitable soil pH, a true nutrient shortage, or stress during leaf development. Check root health and care conditions before fertilizing. Adding fertilizer to damaged or oxygen-starved roots can increase salt stress without correcting the cause.
Root rot, pests, and recent stress
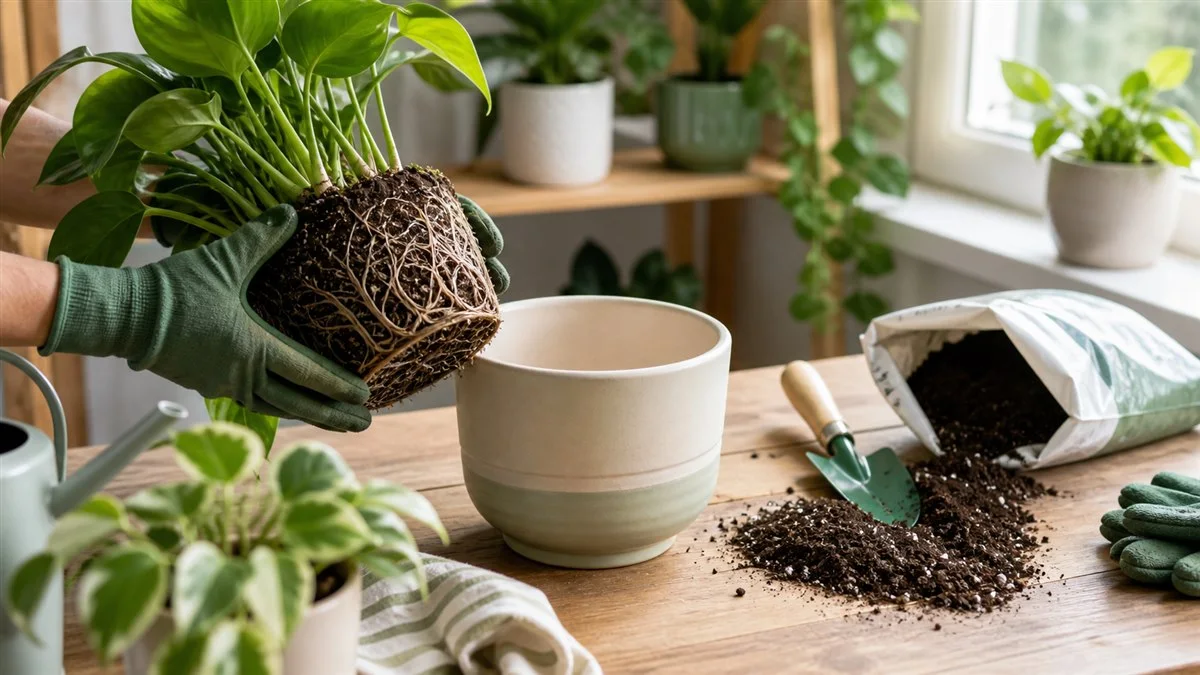
Inspect roots when yellowing continues while the pot stays wet, when stems soften, or when the soil smells sour. Healthy roots vary in color by species and potting mix, but they should generally feel firm. Rotten roots are often mushy, hollow, dark, or easy to strip. If rot is present, remove decayed tissue with clean tools and reset the plant in an appropriately sized draining pot and fresh airy mix.
Also review the previous few weeks. Repotting, shipping, a cold draft, heat from a vent, a sudden move, a strong fertilizer dose, or pest treatment can all trigger yellowing. A recently disturbed plant often needs stable light and careful moisture management more than another major intervention.
What to do first
- Identify whether old, new, lower, upper, or all leaves are affected.
- Check moisture below the surface and compare the pot with its normal wet and dry weight.
- Confirm drainage and empty standing water from saucers or cover pots.
- Inspect stems, leaf undersides, new growth, and roots when the other clues justify it.
- Review recent changes in light, temperature, watering, repotting, fertilizer, or treatments.
- Correct the most likely cause first, then watch new growth and the spread of yellowing before changing anything else.
What not to do first
- Do not fertilize yellow leaves before checking roots, light, and soil moisture.
- Do not repot automatically unless root condition, pot size, drainage, or broken-down soil gives you a reason.
- Do not remove every imperfect leaf if the plant still needs healthy green tissue to recover.
- Do not keep watering a heavy pot because the leaves look thirsty.
- Do not treat for pests until you have identified a pest or a convincing damage pattern.
How to tell whether the plant is recovering
Fully yellow leaves will not turn green again. Recovery means the yellowing stops spreading, stems remain firm, the pot returns to a predictable drying rhythm, roots begin functioning normally, and new leaves emerge with healthy color and size. Give the plant enough time to respond; repeated changes can hide which correction actually helped.
Diagnose before treating
Plant problems overlap. Yellow leaves, drooping, brown tips, and leaf drop can come from water, light, roots, pests, fertilizer, temperature, or a recent move. A good diagnosis starts with what changed, which leaves are affected, whether soil is wet or dry, and whether roots or pests are visible. Treatments work better when they match the confirmed cause.
When you are unsure, choose the least disruptive correction first. Improve drying time, stabilize light, isolate a pest suspect, or remove damaged leaves before repotting, fertilizing, pruning, and spraying all in the same week.
Plant care works best when you change one variable at a time. Check soil moisture, light, roots, pests, and recent care changes before buying products or repotting in a hurry.